Try the Hitech Billsoft Software today and grow your business
Join Millions of Business Owners already saving time and
money with Hitech Billsoft.
GST registration procedure is the first and most crucial step for any business that wants to operate legally under the Goods and Services Tax system in India. If you are a small or micro-sized business owner, this process may look confusing at first. But once you understand the steps, documents, and rules, it becomes much easier to follow.
GST registration allows your business to collect tax, claim input tax credit, and stay compliant with Indian tax laws. It starts with understanding who needs to register under GST. Not every business needs GST registration, but many do based on turnover, location, and business type.
This guide explains everything about GST registration in India for 2026 in simple words, so even a beginner can understand it clearly, and shows how a GST billing software like Hitech Billsoft can help once you are registered.
GST registration is the process by which a business gets registered under the Goods and Services Tax Act. Once registered, the business receives a unique number called the GSTIN.
This number is used for:
Without GST registration, a business cannot legally charge GST or issue GST invoices.
The procedure for registration under GST applies to businesses that meet certain conditions. You must apply for GST registration if:
For most states, the limit is Rs. 40 lakh for businesses dealing in goods and Rs. 20 lakh for businesses providing services. For special category states, the limit is lower - Rs. 20 lakh for goods and Rs. 10 lakh for services. If your business turnover crosses these limits, following the procedure for registration under GST becomes mandatory.
GST registration is mandatory only when a business meets these eligibility conditions. Businesses involved in inter-state supply of goods or selling through e-commerce platforms are generally required to register regardless of turnover limits. Businesses below the threshold can also opt for voluntary GST registration to claim input tax credit, work with GST-registered clients, and enhance business credibility. Registration is also compulsory for casual taxable persons, non-resident taxable persons, agents supplying on behalf of others, and persons liable to pay tax under reverse charge.
Before learning the procedure for registration under GST, it is essential to know the types of GST registration available.
The GST registration online procedure requires certain documents. Keeping them ready helps avoid delays.
PAN card, Aadhaar card, passport-size photo, address proof and bank account details.
PAN of the firm, partnership deed, PAN and Aadhaar of partners, address proof and bank details.
Certificate of incorporation, PAN of the company, MOA and AOA, PAN and Aadhaar of directors, and bank account proof.
The GST registration step-by-step procedure is entirely online and done through the GST portal.
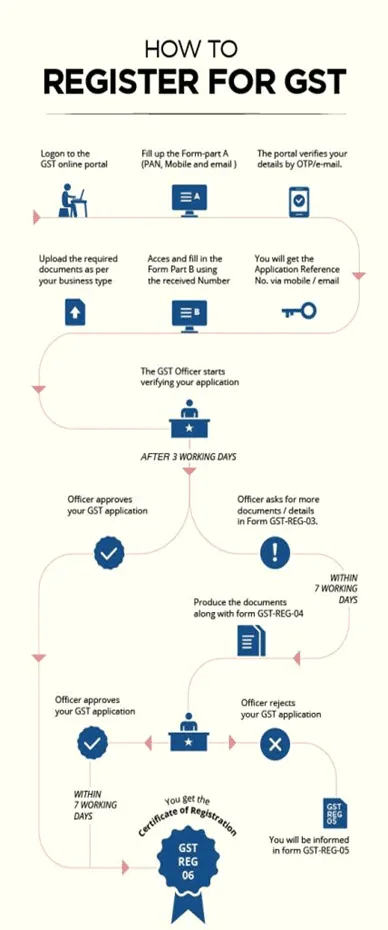
To describe the procedure for registration under the GST Act in short, it follows these key stages: online application submission, verification of details, document review, approval or clarification, and issue of GSTIN. The entire process usually takes 7 to 10 working days if all details are correct.
The procedure for registration of GST slightly changes based on business structure.
This is quick and straightforward. Individuals mainly need PAN, Aadhaar, and bank details. Aadhaar-based verification often speeds up approval.
This requires the partnership deed and details of all partners. One partner is selected as the authorized signatory.
E-commerce sellers and online service providers are required to register for GST irrespective of turnover in most cases. Platforms may also require GSTIN details to onboard sellers and process payments. GST registration is also state-specific - businesses operating in multiple states must obtain separate GST registrations for each state, even under the same PAN.
Many small businesses face rejection due to minor errors. Avoid these mistakes:
Double-check everything before submission.
There is no government fee charged for GST registration in India. The entire registration process on the GST portal is free of cost. However, businesses may incur professional or consultancy charges if they seek help from tax experts or software providers for documentation, filing, or compliance support.
As per the latest GST rules, Aadhaar authentication plays a key role in faster approval of GST registrations. Applicants who complete Aadhaar authentication usually receive GST registration approval within 3-7 working days, subject to verification. Under updated rules, applications with complete details and Aadhaar authentication may be auto-approved without physical verification, reducing delays significantly.
After submitting the GST registration application, tax authorities verify the PAN and Aadhaar details, business address, and bank account information provided.
Applications may be rejected due to:
If clarification is required, applicants must respond within the stipulated time on the GST portal to avoid rejection.
Once GST registration is completed, businesses must comply with ongoing obligations. Registered taxpayers must file periodic GST returns such as GSTR-1, GSTR-3B, and annual returns, depending on their business type. Late filing attracts late fees, interest on tax liability, and blocking of e-way bills in prolonged non-compliance cases.
After completing the procedure of registration under GST, a business must issue GST invoices, file GST returns on time, maintain proper records, and pay GST dues on time. Failure to comply can lead to penalties and suspension of registration.
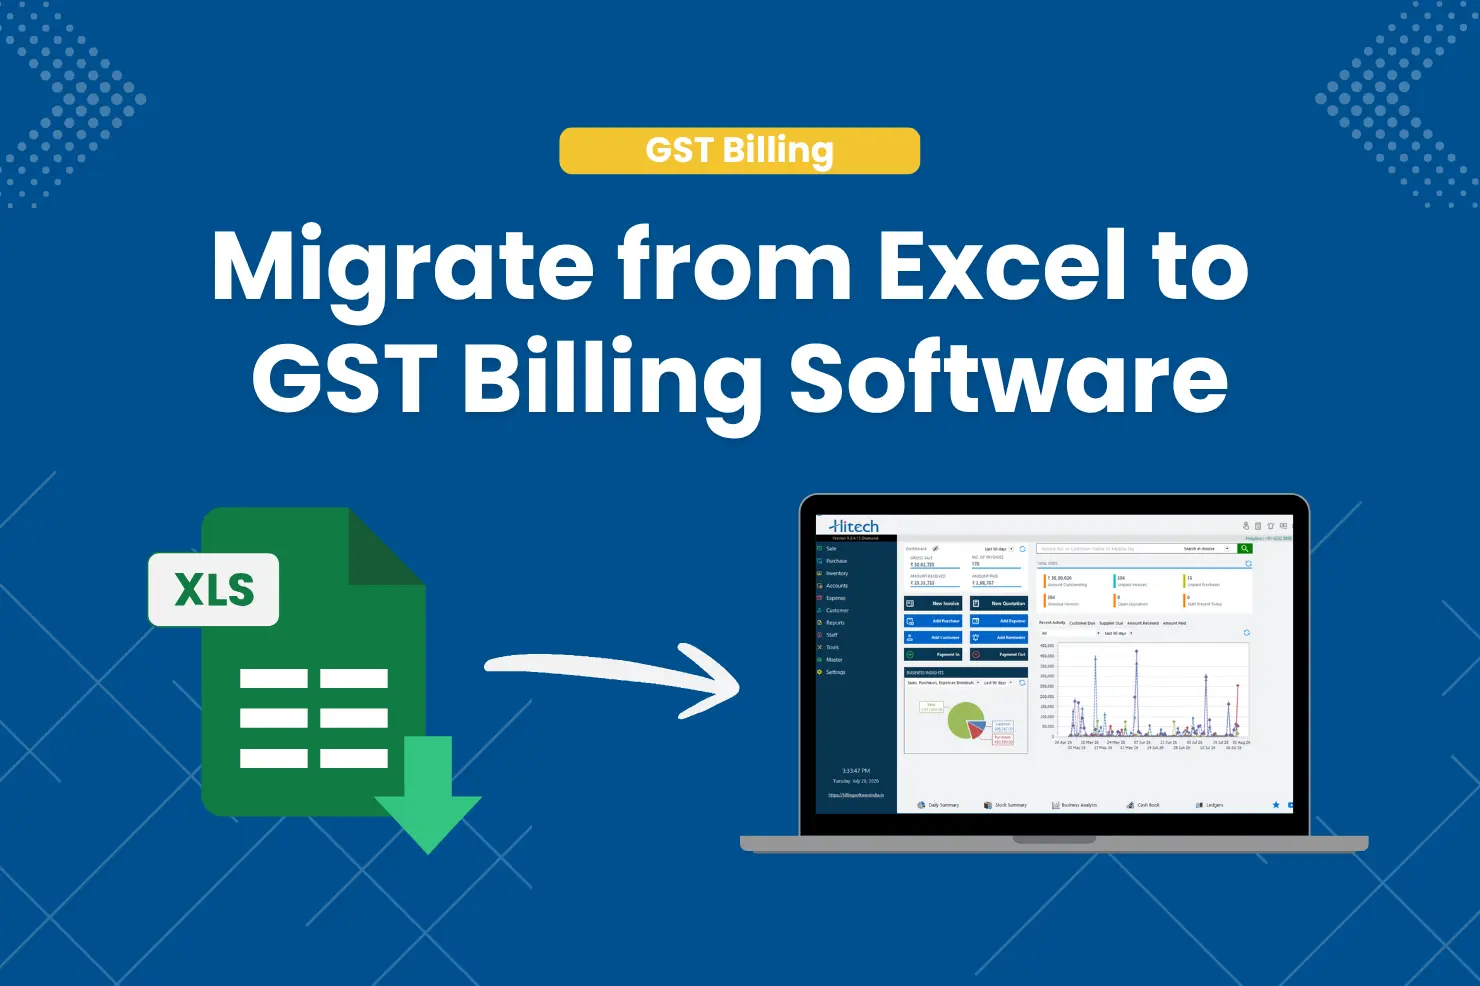
This is where a GST billing software like Hitech Billsoft becomes very helpful. It helps small and micro-sized businesses create GST-compliant invoices, track income and expenses, manage GST data, generate GST reports, and simplify day-to-day bookkeeping - saving time and reducing errors.
GST registration does not have a fixed expiry and remains valid unless the business is closed, registration is canceled, or it is surrendered. However, regular return filing is mandatory to keep the registration active.
Cancellation may apply if:
Applications for cancellation can be filed online through the GST portal, either voluntarily by the taxpayer or initiated by authorities. After cancellation, businesses cannot charge GST or claim input tax credit and must file a final return.
| Offence | Penalty |
|---|---|
| Not paying tax or making short payments (genuine errors) | 10 percent of the tax sum owed, equal to at least Rs.10,000 |
| Intentionally evading tax payment | 100% of the tax due |
The GST registration procedure may look complex at first, but when broken into steps, it becomes simple. For small and micro-sized businesses, GST registration is not just a legal duty but a growth opportunity. By following the correct procedure for registration under GST, keeping documents ready, and using simple accounting tools like Hitech Billsoft, businesses can stay compliant without stress.




Join Millions of Business Owners already saving time and
money with Hitech Billsoft.